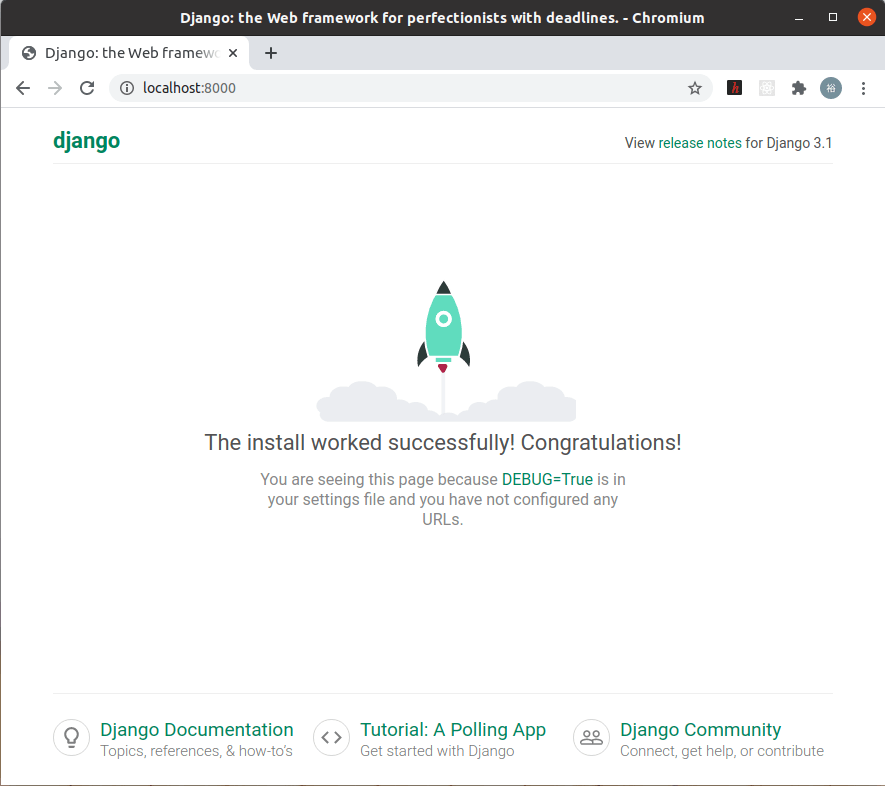
今回の記事では、
Djangoプロジェクト内にReactでfrontendを反映させる方法
について解説していきます
frontend用のappを作成と初期設定
$ python manage.py startapp frontend
app名をここでは、
frontend
とします
settings.py に appの追加
INSTALLED_APPS = [
                   .
                   .
                   .
                   'frontend',
]
frontendをINSTALLED_APPSに追加します
TEMPLATES = [
    {
        'DIRS': [ BASE_DIR / "templates"],
    },
]
TEMPLATES内のDIRSを上記に変更します
mainフォルダ内のurls.py
from django.urls import path, include

urlpatterns = [
    .
    .
    .
    .
    path('react/', include('frontend.urls')),
]
includeをインポートするのを忘れずに!
ここでは、
/react/
をfrontendのパスとしています
frontend内のurls.py
from django.urls import path
from django.views.generic import TemplateView

urlpatterns = [
    path('', TemplateView.as_view(template_name="frontend/index.html"), name="index_js")
]
下記で作成するテンプレートファイルにパスを通します
app内の設定
templatesフォルダ > frontendフォルダ > index.html
<!DOCTYPE html>
<html lang="ja">
<head>
    <meta charset="UTF-8">
    <meta http-equiv="X-UA-Compatible" content="IE=edge">
    <meta name="viewport" content="width=device-width, initial-scale=1.0">
    <title>React Index</title>
</head>
<body>
{% load static %}
    <div id="app"></div>

    <script src="{% static 'frontend/main.js/main.js' %}"></script>
</body>
</html>
templatesフォルダ > frontendフォルダ > index.html
とそれぞれ作成します
srcフォルダ > index.js
import React from "react"
import ReactDom from "react-dom"

import App from "./App"

let myComponent = document.getElementById("app")
if (myComponent !== null){
    ReactDom.render(<App />, myComponent)
}
index.html内のid「app」にApp.jsの内容をrenderするよう指示を出しています
srcフォルダ > App.js
import React, {Component} from "react"

const App = () => {
    return (
        <div>Hello World</div>
    )
}

export default App
Hello Worldと記述されるようにしましょう
npmの設定
npmのインストールについて、ここでは割愛させて頂きます
package.json
{
    "name": "src",
    "version": "1.0.0",
    "description": "",
    "main": "index.js",
    "scripts": {
        "dev": "webpack --mode development --watch --entry ./frontend/src/index.js --output-path ./frontend/static/frontend/main.js",
        "build": "webpack --mode production --entry ./frontend/src/index.js --output-path ./frontend/static/frontend/main.js"
    },
    "keywords": [],
    "author": "",
    "license": "ISC",
    "devDependencies": {
        "@babel/core": "^7.12.16",
        "@babel/preset-env": "^7.12.16",
        "@babel/preset-react": "^7.12.13",
        "antd": "^4.12.3",
        "babel-loader": "^8.2.2",
        "babel-plugin-transform-class-properties": "^6.24.1",
        "css-loader": "^5.0.2",
        "file-loader": "^6.2.0",
        "formik": "^2.2.6",
        "moment": "^2.29.1",
        "prop-types": "^15.7.2",
        "react": "^17.0.1",
        "react-cookies": "^0.1.1",
        "react-dom": "^17.0.1",
        "react-router-dom": "^5.2.0",
        "sass": "^1.32.8",
        "sass-loader": "^11.0.1",
        "style-loader": "^2.0.0",
        "webpack": "^5.23.0",
        "webpack-cli": "^4.5.0",
        "webpack-dev-server": "^3.11.2",
        "whatwg-fetch": "^3.5.0",
        "yup": "^0.32.9"
    },
    "jest": {
        "transformIgnorePatterns": [
            "/node_modules/(?!antd|@ant-design|rc-.+?|@babel/runtime).+(js|jsx)$"
        ]
    }
}
このままコピペで良いかと思います
.babelrc
{
    "presets": ["@babel/preset-env", "@babel/preset-react"],
    "plugins": ["transform-class-properties"]
}
webpack.config.js
module.exports = {
    output: {
        filename: "main.js",
    },
    module: {
        rules: [
            {
                test: /\.js$/,
                exclude: /node_modules/,
                use:
                    {
                        loader: "babel-loader"
                    }
            },
            {
                test: /\.css$/,
                exclude: /node_modules/,
                use:[
                    "style-loader",
                    {loader: "css-loader",
                    options: { url: false }
                    }
                ]
            }
        ]
    },
    devServer: {
        historyApiFallback: true,
      }
}
ファイルツリー
こんな感じになりました!
src
 ├── frontend
 │   ├── init.py
 │   ├── admin.py
 │   ├── apps.py
 │   ├── migrations
 │   │   └── init.py
 │   ├── models.py
 │   ├── src
 │   │   ├── App.css
 │   │   ├── App.js
 │   ├── static
 │   │   └── frontend
 │   │       └── main.js
 │   │           └── main.js
 │   ├── templates
 │   │   └── frontend
 │   │       └── index.html
 │   ├── tests.py
 │   ├── urls.py
 │   └── views.py
 ├── main
 │   ├── init.py
 │   ├── asgi.py
 │   ├── settings.py
 │   ├── urls.py
 │   └── wsgi.py
 ├── manage.py
 ├── package-lock.json
 ├── package.json
 ├── requirements.txt
 ├── snippets
 │   └── decorators.py
 ├── static
 │   ├── css
 │   │   ├── header.css
 │   │   └── index.css
 │   ├── images
 │   └── js
 ├── templates
 └── webpack.config.js
npm install とローカルサーバーの実行
下記を順に実行
$ npm install
$ npm run dev
$ python manage.py runserver
その後、
http://localhost:8000/react/
へアクセスすると、
Hello World
が表示されているのがわかります!
以上となります
本日もありがとうございました!!!

